If you follow me on Instagram then you’ve probably seen photos of my recent trouser-making endeavours, so I thought a more in-depth post was worthwhile for those of you who like to make, or are thinking of making them for yourself and are interested in exploring fit issues.
In previous posts I’ve rambled and wrangled over trouser fitting so I won’t bore you with my woes again, just suffice to say that after spending time over the winter honing my TNT jeans pattern I realised that it really didn’t look like a proper trouser pattern should any more, and that I’d lost all confidence in it continuing to work for me.
Which is frustrating, as most of my sewing life I’ve enjoyed amending and altering, slashing and hacking away at what others have designed. I know some people love to sew and draft from their own slopers/blocks, but I tried that a few years ago and decided it wasn’t for me. It just felt like too much work, and time, to get to an item of clothing, especially when there are hundreds if not thousands of clothing patterns already drafted out there.
I eventually decided, after looking at my options, that I needed help. So as a big fan of Craftsy, I went to see what they had and found Suzy’s Ferrer’s class, Pattern Making & Design, the Pants Sloper. I waited until it went on sale before I bought it, which is not too hard if you’re patient, which I’m not, but I’m stingy, so that worked for me.
I don’t plan to give you a blow-by-blow review of the class, there’s a good preview on Craftsy if you want to look further into it, but hopefully I can help you understand better how a block/sloper is developed using her method. This review is also my own personal opinion and no money or freebies have exchanged hands.
Not surprisingly, the class starts, straightforwardly enough by you taking some basic measurements of your lower body (preferably with someone you know and trust, because crotches are involved!) and follow a series of steps, which does involve a little bit of maths, to get to your first trouser draft. You just need a tape measure, pen, paper, calculator and ruler with the only downside being the ability to work in inches (and fractions of inches) not cm. I’m not used to working in inches, so converted everything to cm, which was a bit of a pain, but not impossible. Also it is really helpful to have someone else measure you as it’s not so easy to get everything you need yourself.
As I’ve done a little drafting already, and Suzy walks you very clearly through the steps involved, it wasn’t too tricky, and it didn’t take too long before I was ready to make them up in a stable woven fabric, as recommended. Which reminds me, Suzy doesn’t give any instructions on how to sew trousers so you really do have to know that part already. The class is classified as advanced, and I think that’s right, although an adventurous intermediate might also enjoy it..
So, this was my first attempt, front view.
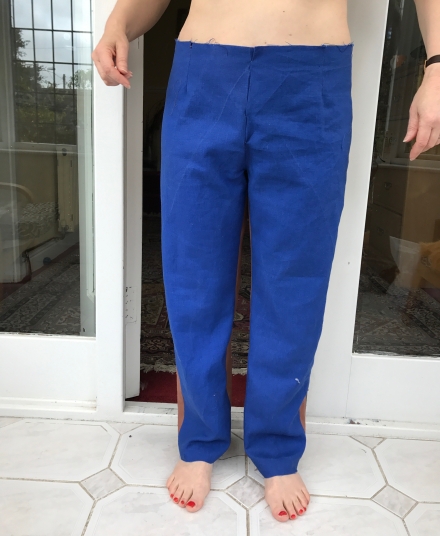
As you can see the crotch area is really baggy and they are too loose all down the leg.
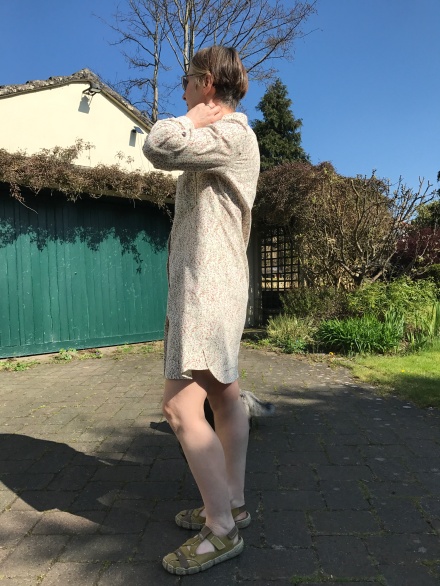
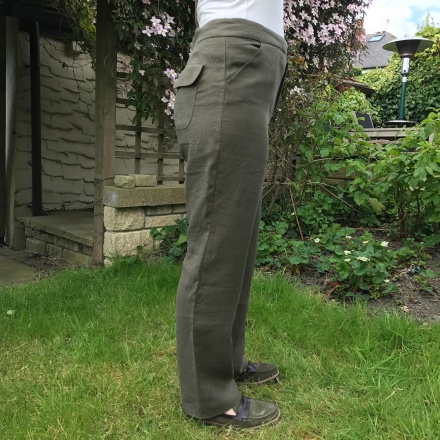
The Side
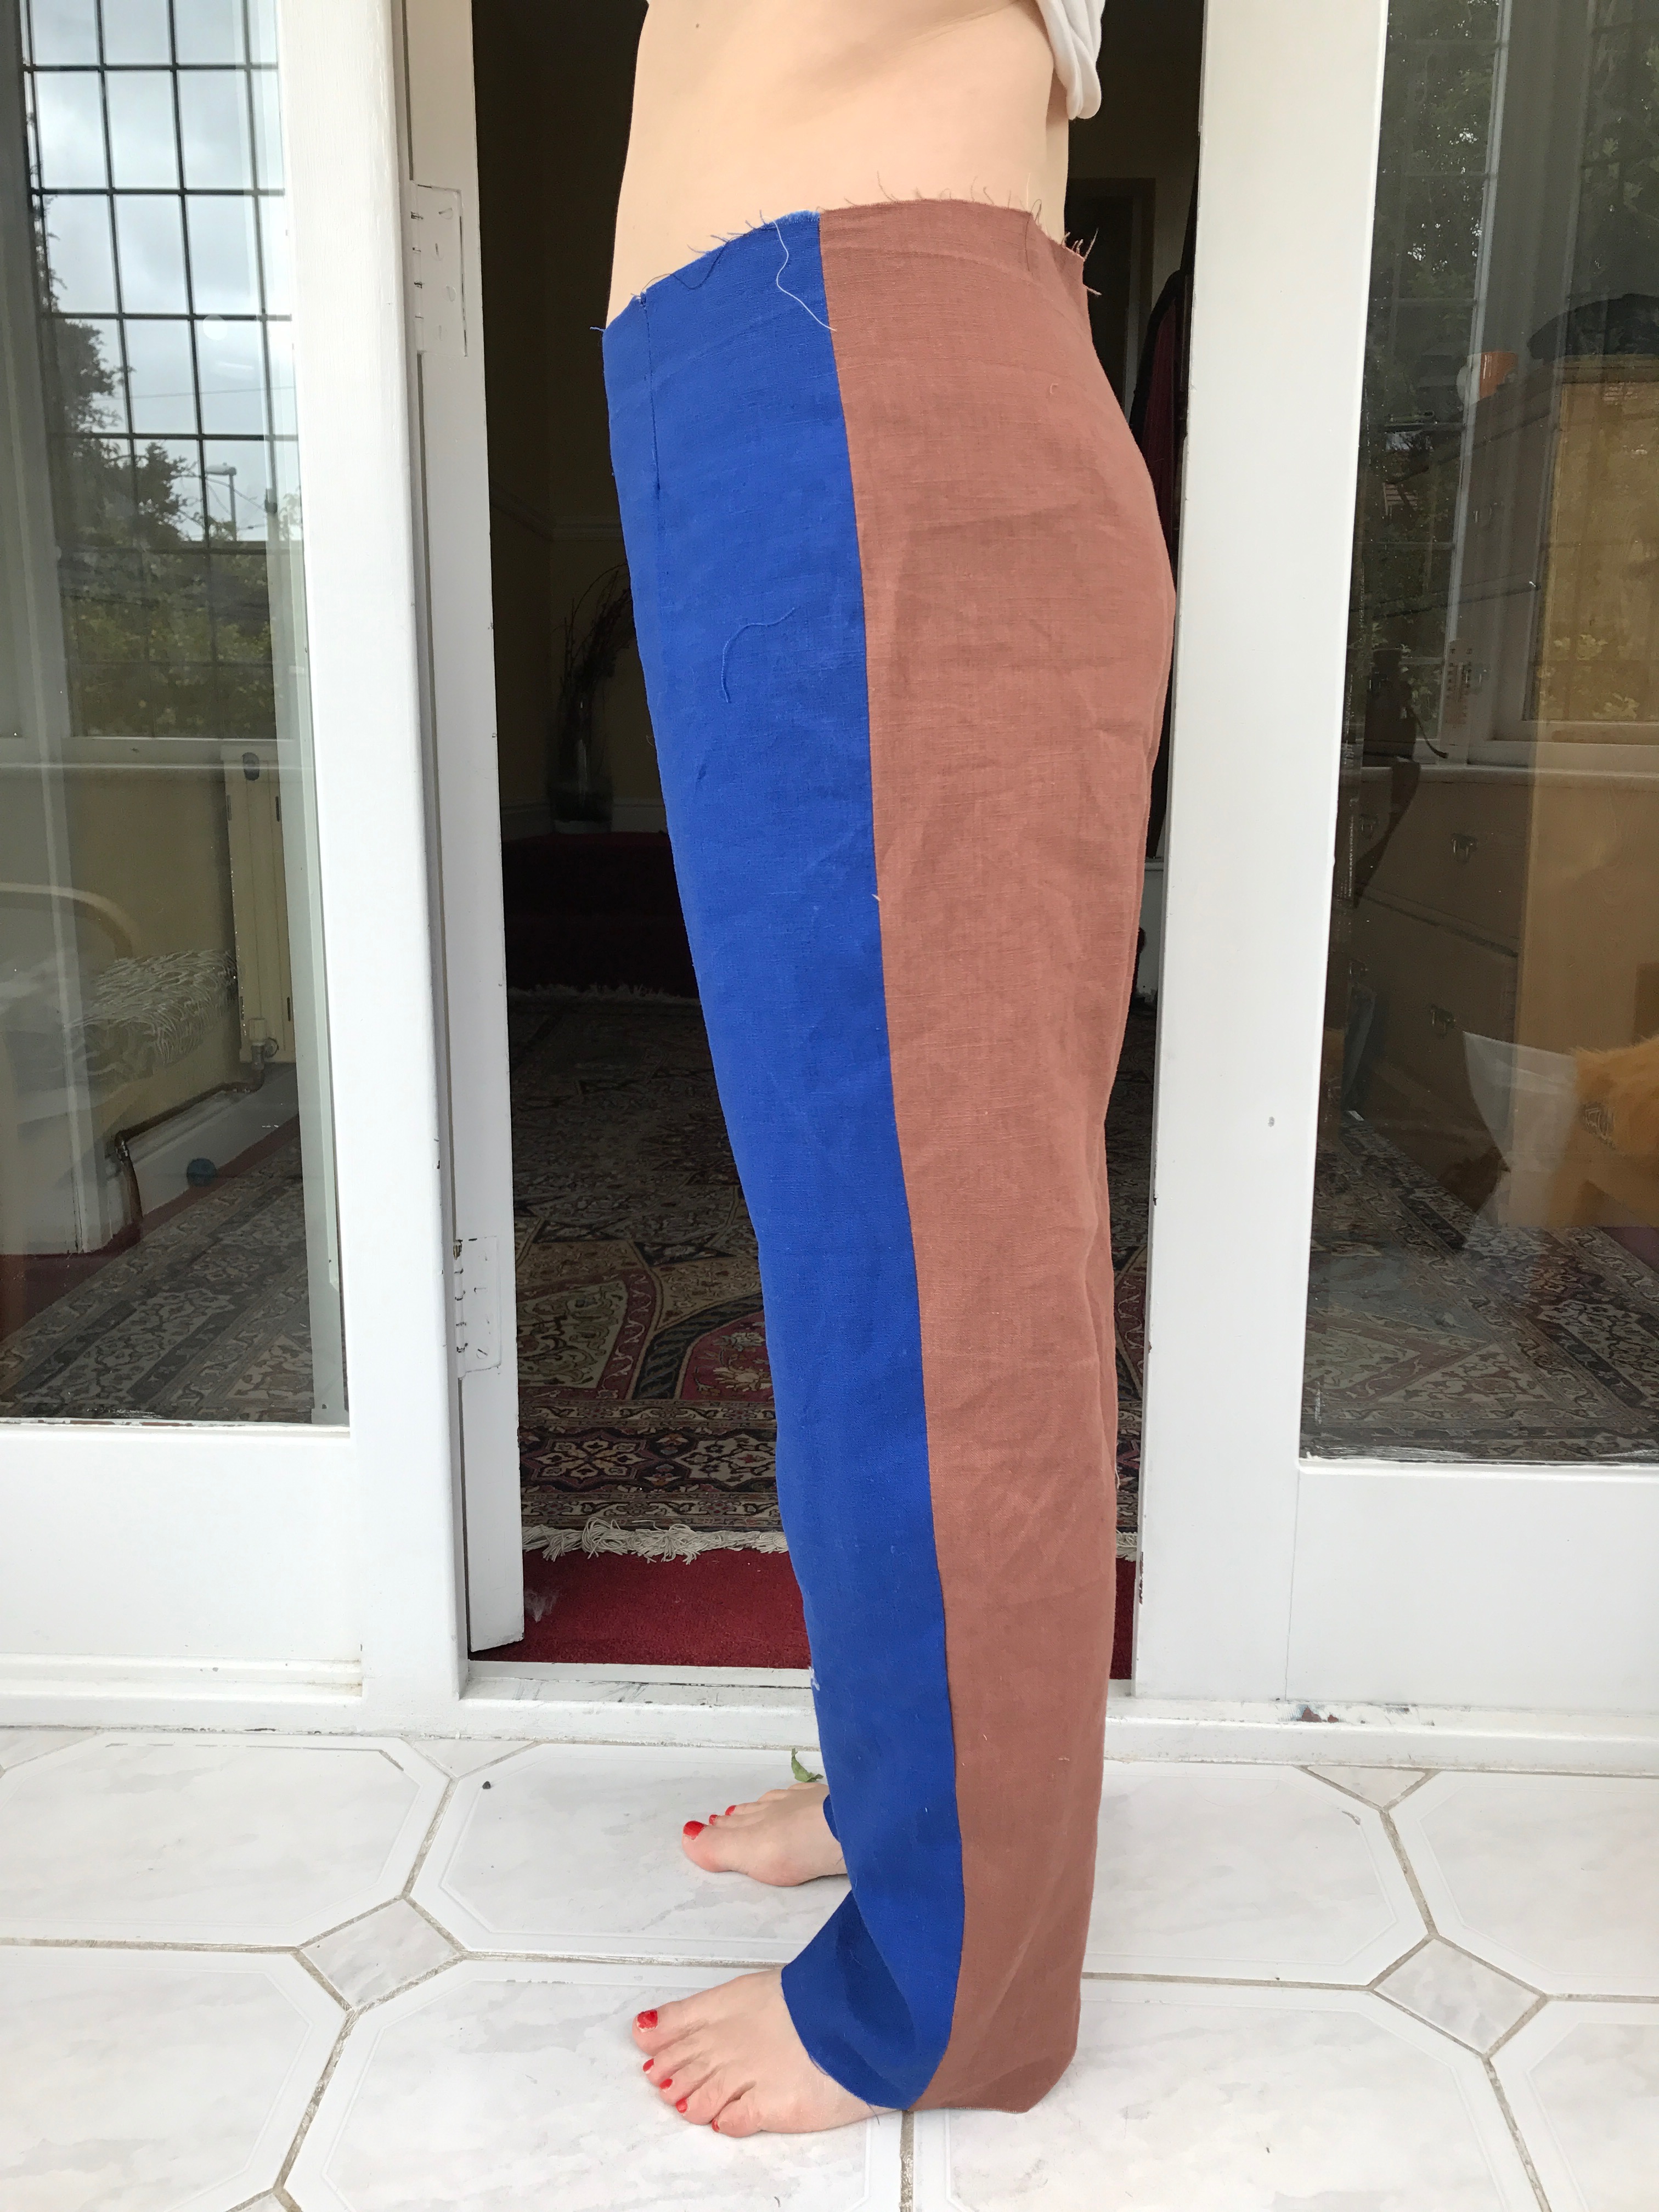
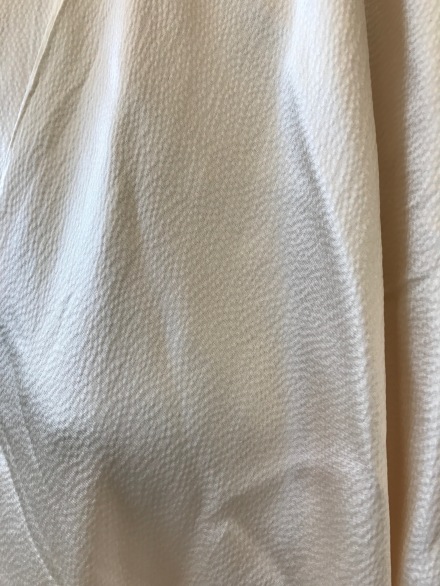
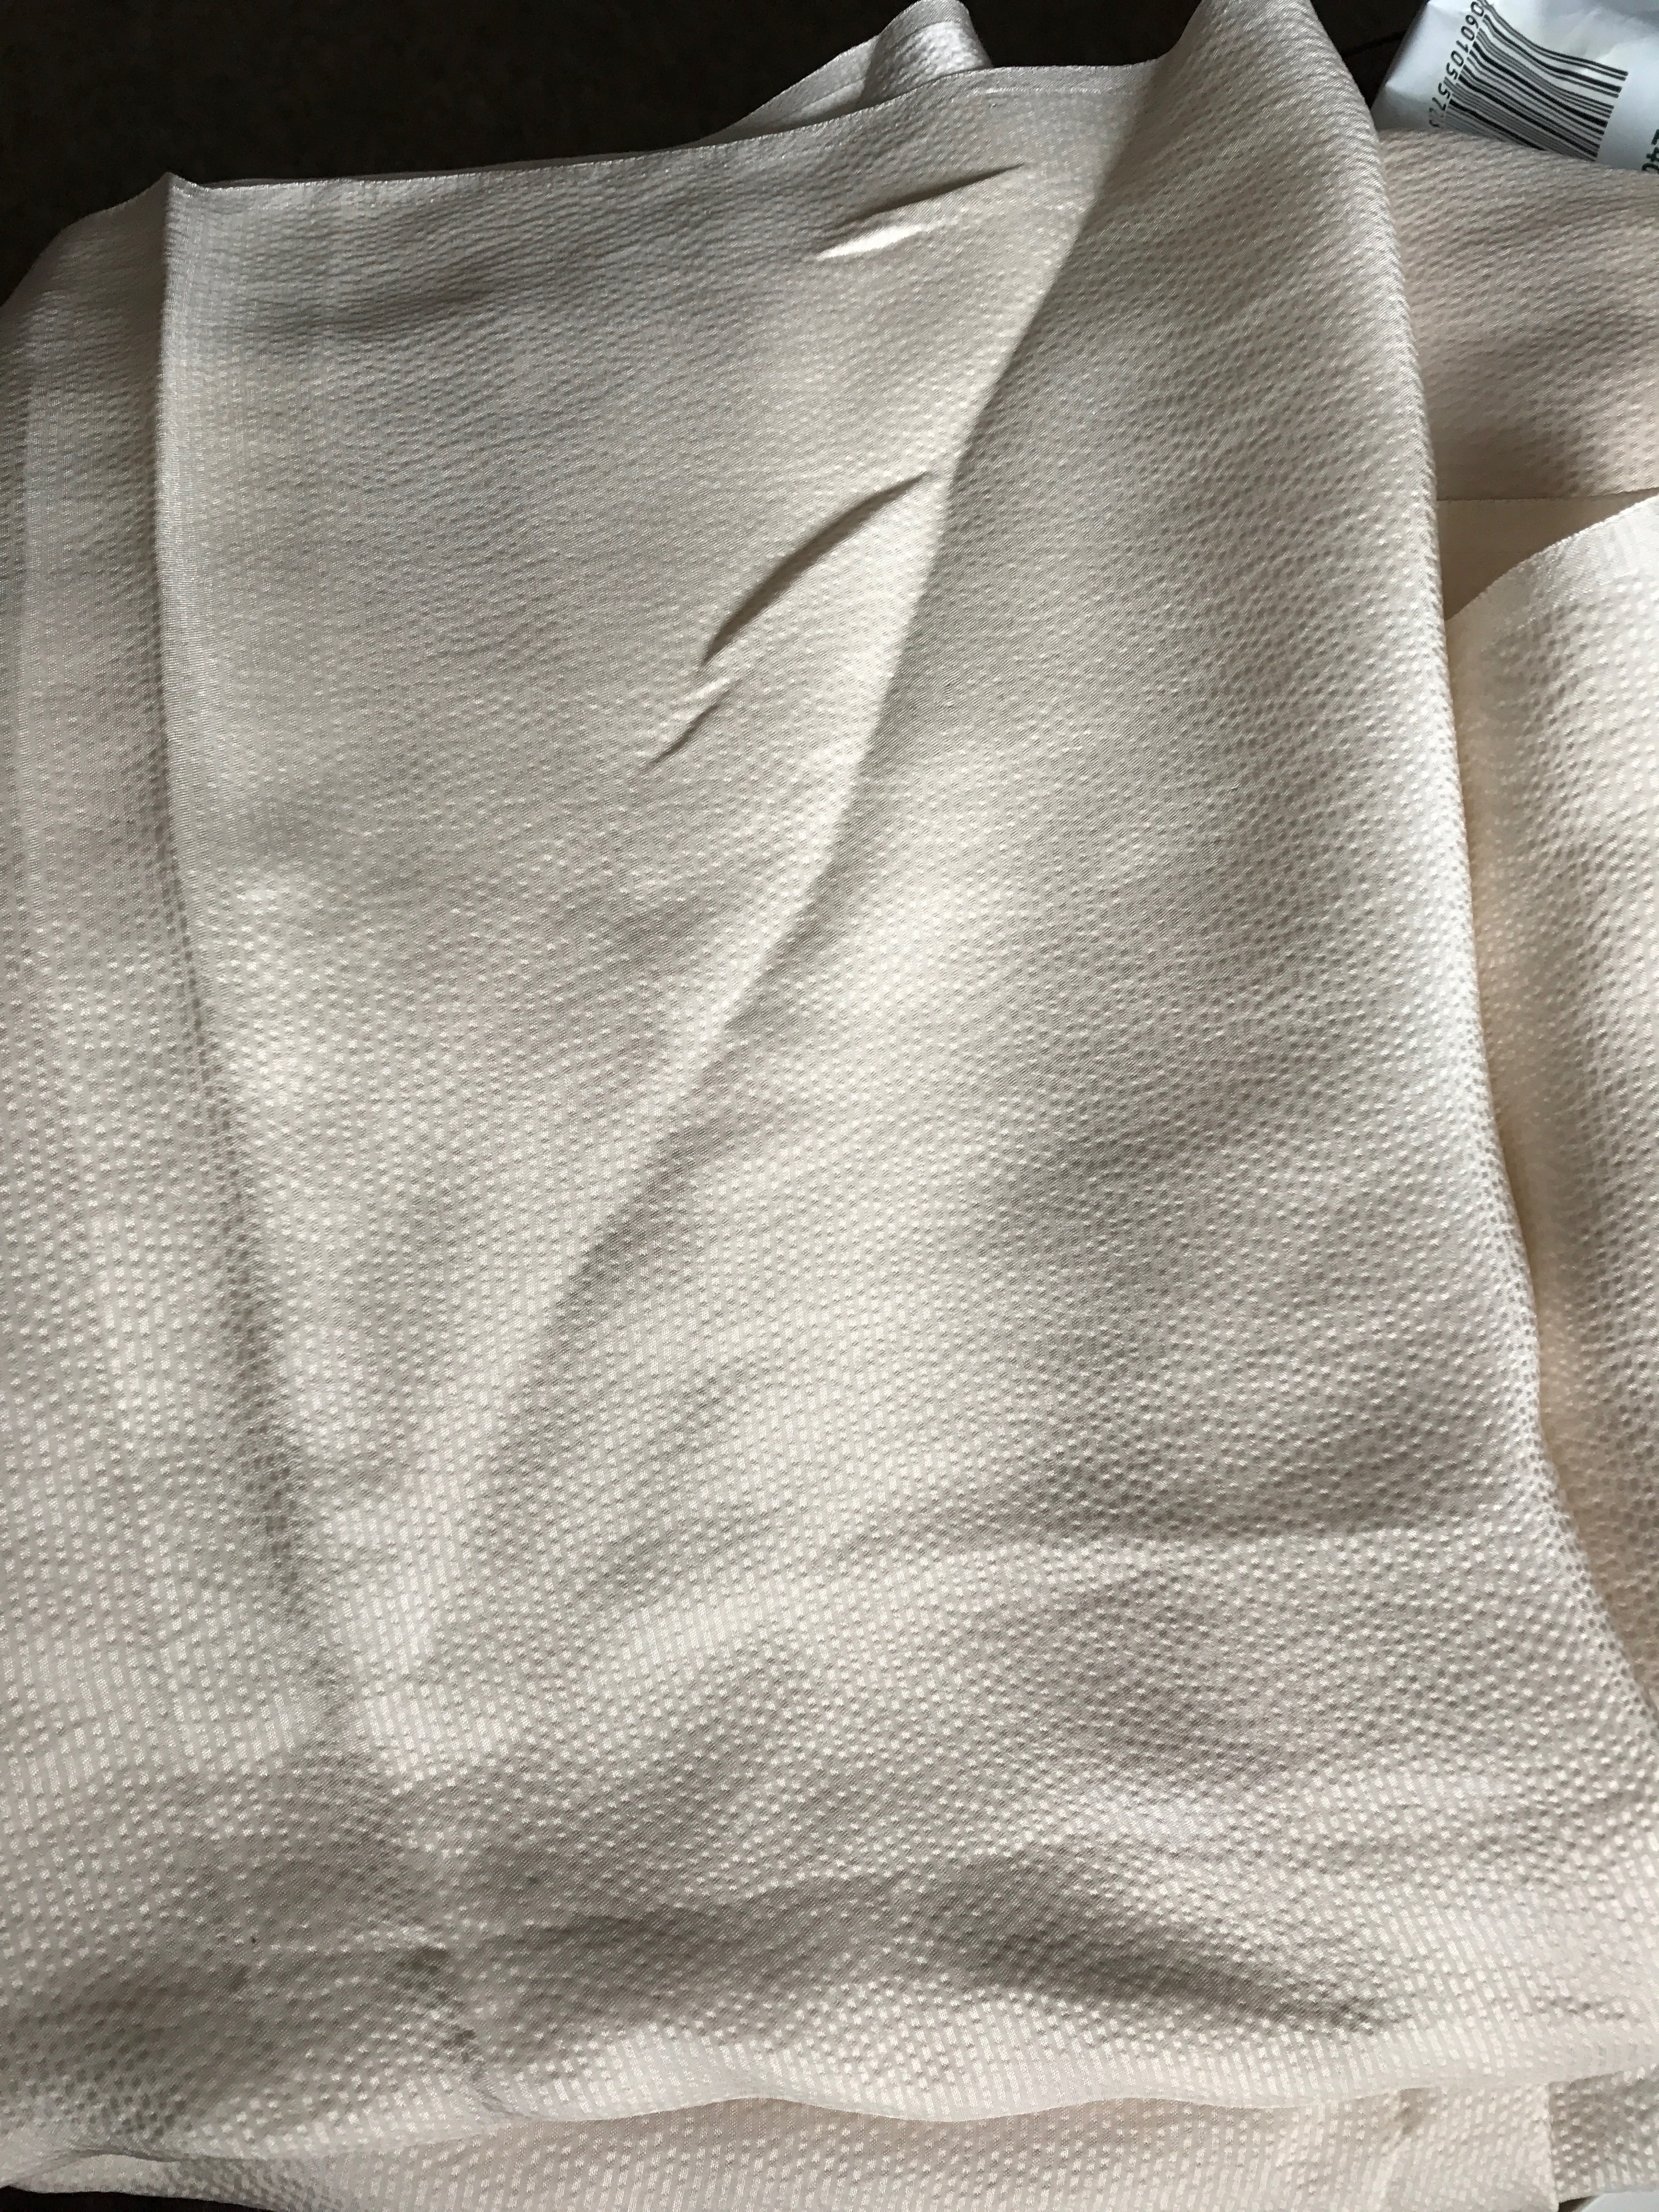
Not bad. I didn’t have enough fabric for the toile, so had to use two different colours of linen. My side seam looks lovely and straight but the legs are a bit too loose fitting.
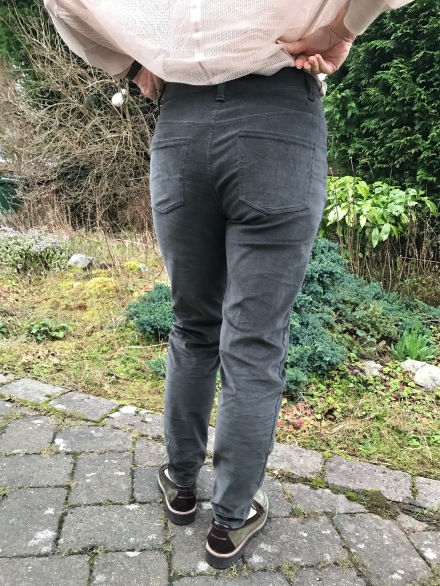
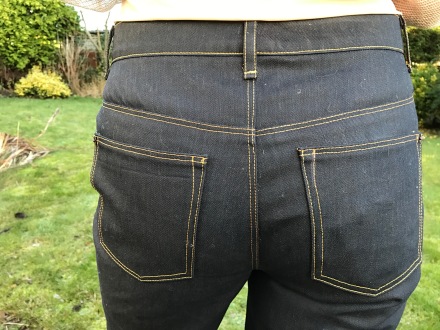
The back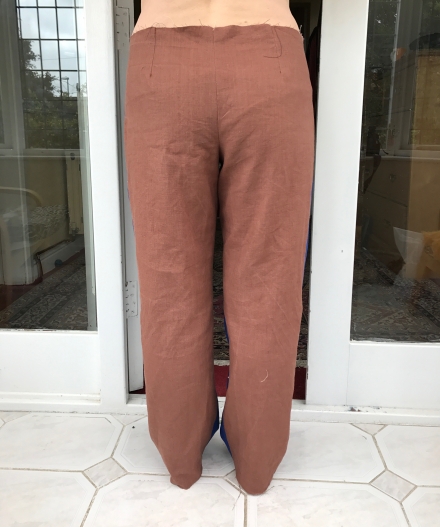
A decent fit over my bum and crotch, if a little too loose all over, especially at the waist and a needing a closer fit on the legs and crotch.
So, overall, they are the right length, and fit reasonably well over my upper rear, but are too big through the leg and crotch.
Now, everyone has different ideas of good fit and in this class the block/sloper is meant to be pretty snug over the waist, bum and hips, because, as Suzy points out trousers will always stretch out a little with wear. The leg however is meant to be a little looser, to give some ease for walking/moving. Suzy explains that it usually takes a minimum of three mock-ups before you get a good result, so I was ready to try and make these work better.
I could at this point have jumped in and started trying to fix the problems myself, however based on my previous experience I didn’t feel confident to do that, so I went back to her class to see what to do next, and quickly found that I had of the common fitting issues she’s come across.
I also posted her some pictures and questions and she came back to me within a few days with some helpful tips.
The first alteration I tackled was removing a little excess width at the centre front seam, above the crotch, to address the bagginess around there. I pinned out just a few mm at each side and already the trousers looked to fit a little better above the legs.
Secondly I went on to remove excess width down the sides, mostly on the legs. Again, this wasn’t a big change, but I could now really see them starting to look like they should. Again I only took out about half a cm each side seam, which removes 2 cm overall.
I then shortened the front crotch, taking off 3-4mm only by chopping off the excess at the crotch extension, to get it to fit closer to the body.
The back crotch I scooped out just a tad, flattening out the curve lower down, to get a closer fit in there.
I then went back, altered my pattern and made them up again to see how they fit this time.
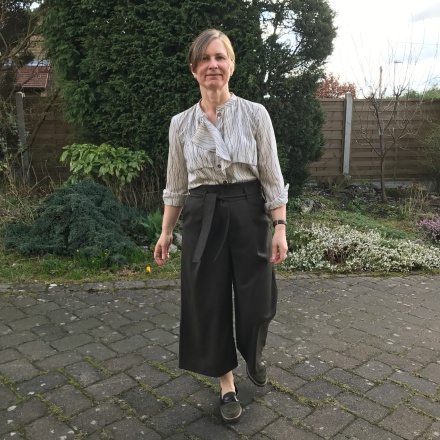
The front
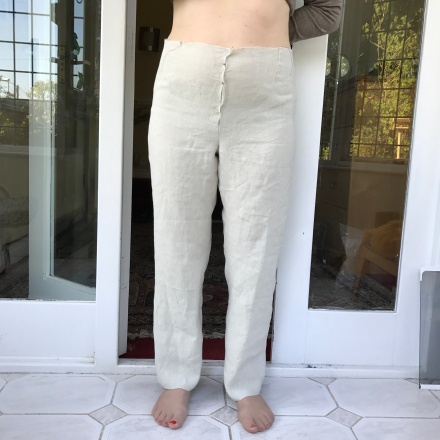
Much better! All the bagginess around the hip and crotch has been eliminated. The legs are still a little loose but not overly so.
The side. You can really see my swayback here, which is just basically a forward tilted pelvis, apparently.
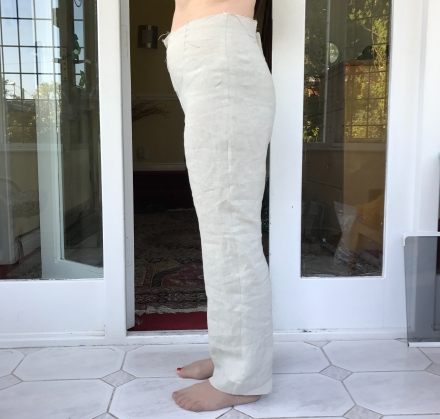
The side seam is pretty straight with a tiny amount of pulling towards the back at low hip level.
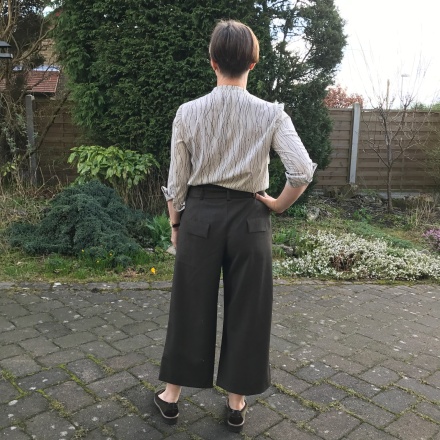
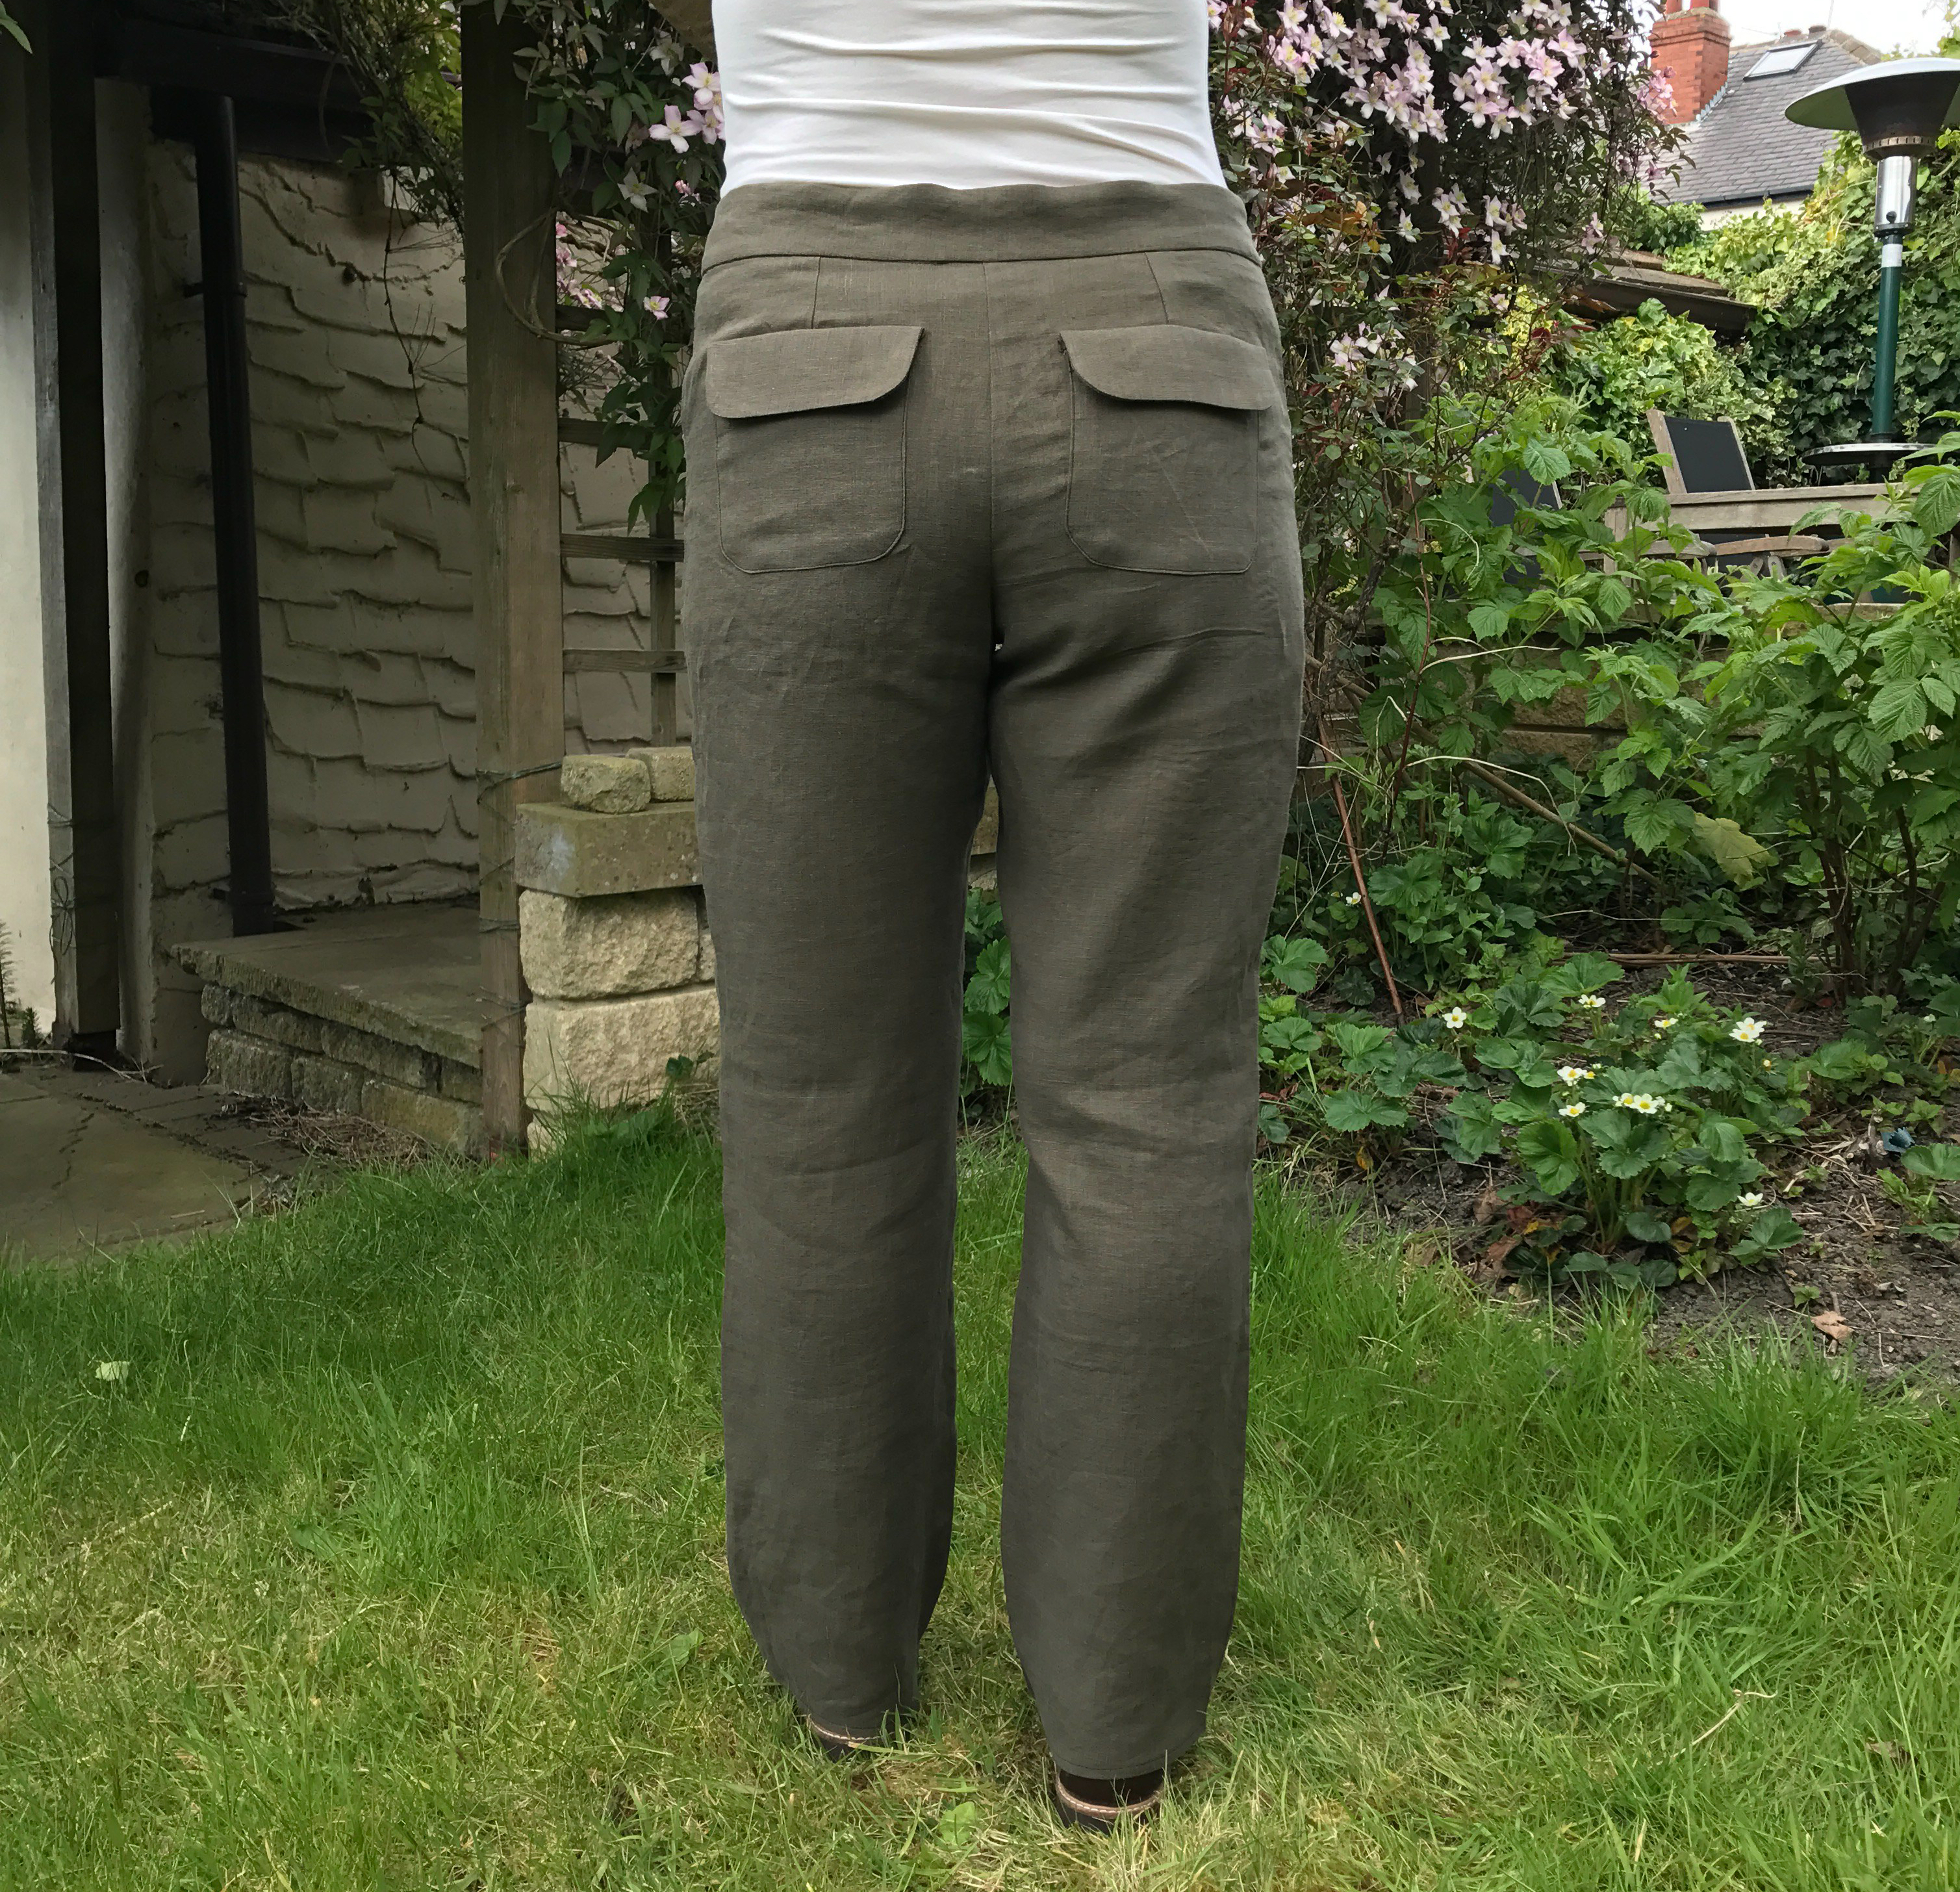
The back.
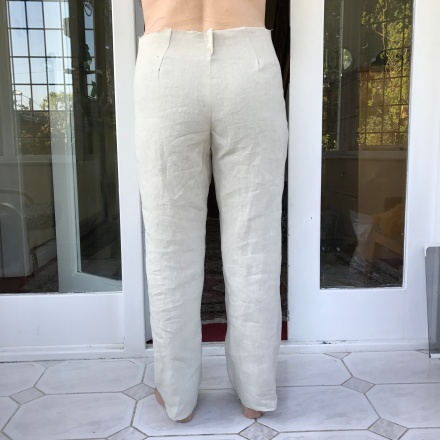
This is pretty good. I did have to pinch out some excess at the waist at centre back, which is something I’m used to doing. There’s also a little bubbling below the right dart too for my high hip on that side.
All of this might sound like a lot of work, but I did all this in a couple of sessions. Trouser blocks are really very easy to sew up as they’re only 2 basic pieces at this stage, so the only real time consuming bit is altering the pattern and truing up the seams.
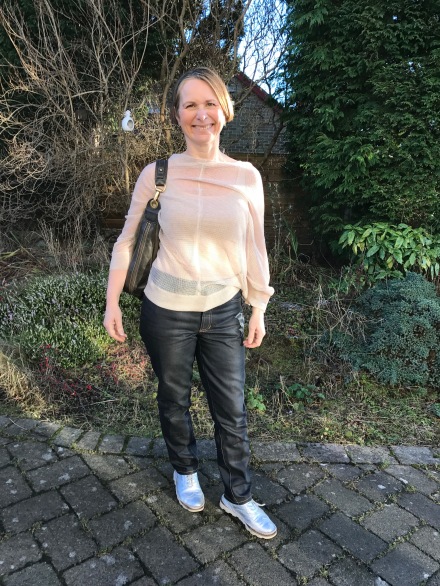
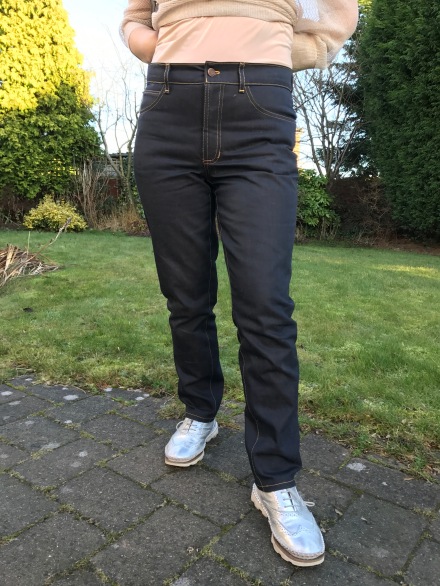
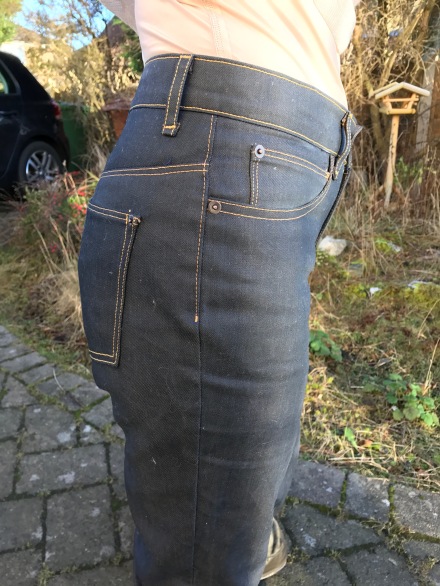
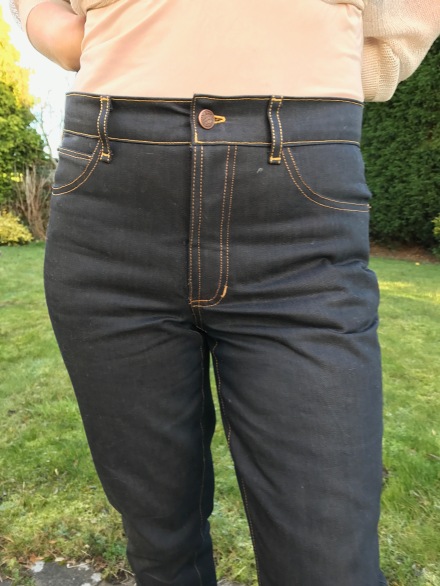
As I was pretty happy with my last toile I decided I’d go ahead and make up some trousers direct from my block, as is. I don’t think you can really evaluate fit properly until you’ve worn your item a good few times, so I wanted to do that before making any further tweaks to the pattern.
I found a medium weight linen for the purpose and went back to Suzy’s class to get the details on drafting pockets and waistband. Her class explains how to make a more slim fit trouser from your block, with a flat front, as well as a wider-leg version, with lowered waist and pockets so you’ve got options to turn your block into something wearable.She also has another class I believe which shows you how to develop your block into more styles, including drawstring and jeans versions.

I need to go back and take a wedge out of the waistband at centre back, and make the pockets a bit bigger, but other than that I’m pretty happy with them. After wearing the linen did bag out a lot, so I may go for a tighter fit next time, but that would alter with a different fabric so I wouldn’t change my block.
Since then, I’ve made a pair of flares in a woven, and am already planning more trousers, but this time with stretch fabric. Suzy recommends you make a new block for stretch fabrics, starting by taking half an inch off the sides first and altering from there, if necessary. There’s a beautiful chocolate stretch cotton satin in my stash waiting to be made into something gorgeous, as well as some baby blue corduroy.
So, do you make your own trousers? Have you found a good fit using standard patterns or did you make your own block/sloper? Did you have to update it often? Do you enjoy drafting your own patterns?


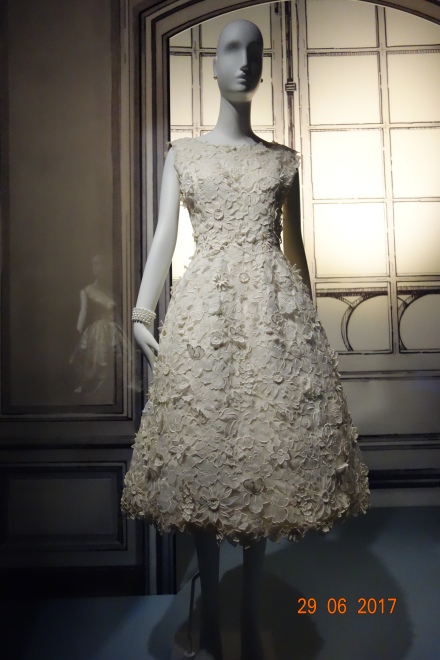
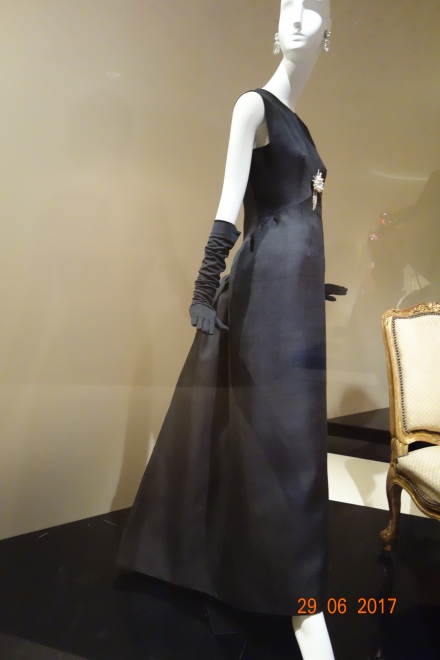
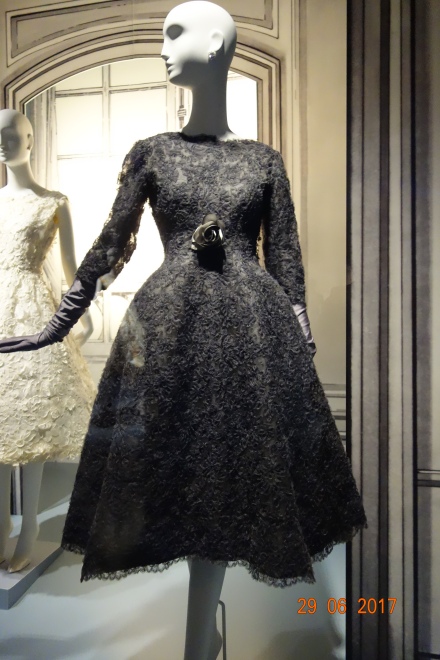
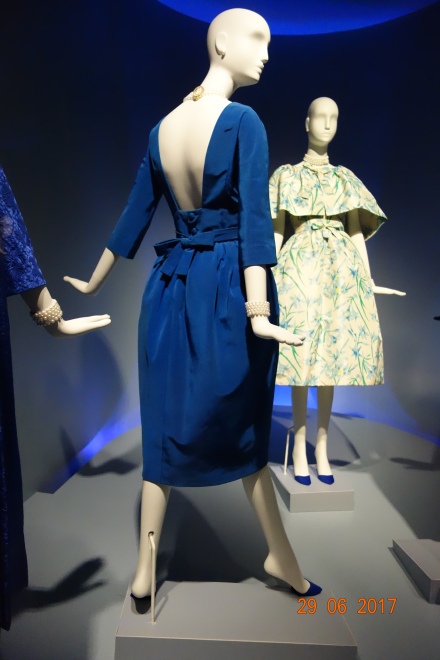
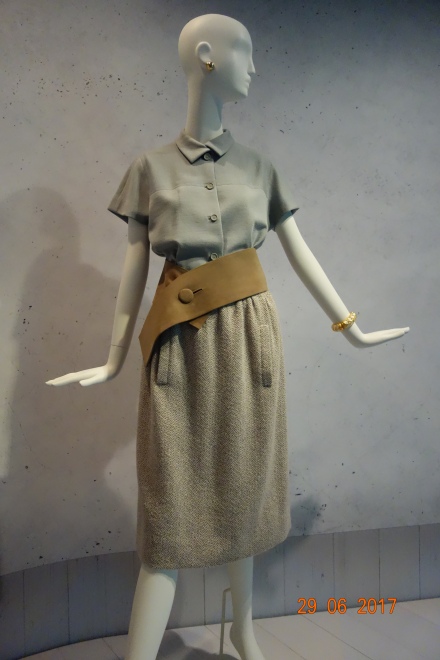

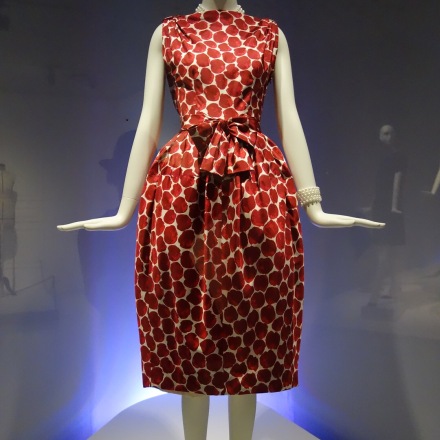
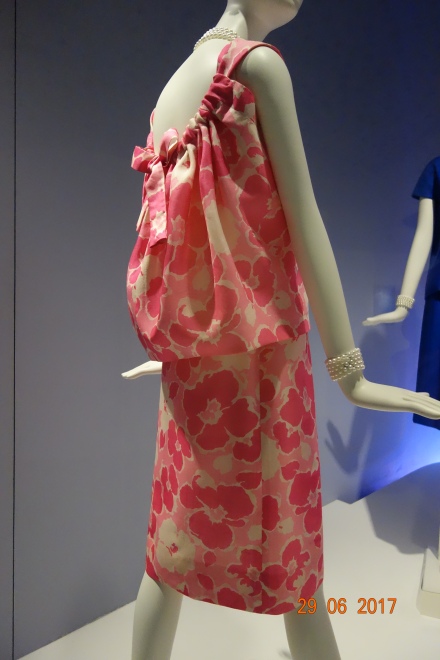
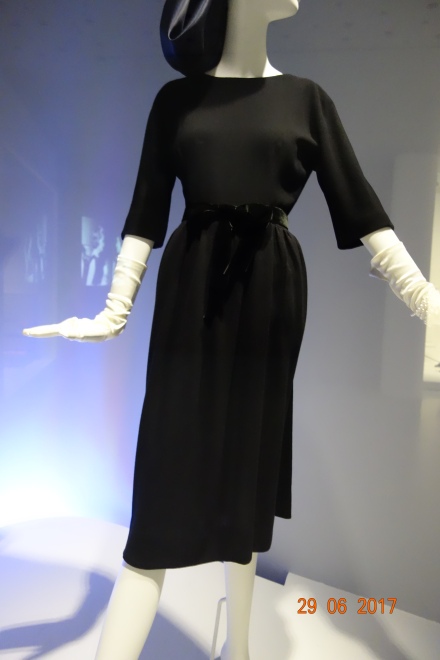 I found the designs were very much of their time, of course, but the sheer simplicity of the silhouettes and the restrained details felt very much of the “less is more” ethos, which I loved. I’ve seen the quite a few designer exhibitions over the years and this was one of the most understated, simple and classic collections I’ve ever been to. It was bit of a shame that there were no descriptions for each outfit.